")


Projects
The largest orders
Name | ŠPORK PALACE |
Address | Hybernská 1034/5, 110 00 Prague |
Client | HINTON, ARCECO s.r.o. |
Date | 06.2017-06.2018 |
Number of workers | 4-6 |
Scope of work | New SHZ installation |
Completed | Installation: 2400 sprinklers Ø100 = 100m. Ø50 = 2100-2400m. Ø32 = 400m. Ø25 = 800m. Machine room |

Name | TESCO LETNANY |
Address | Veselská 663, 199 06 Prague 9 |
Client | HINTON, ARCECO s.r.o. |
Date | 06.2018-12.2018 |
Number of workers | 3-6 |
Scope of work | Repair and installation of SHZ |
Completed | Installation: 2000 sprinklers Ø100 = 150-170m. Ø80 = 30m. Ø76 = 60m. Ø50 = 40m. Ø32 = 800m. Ø25 = 1800m. |
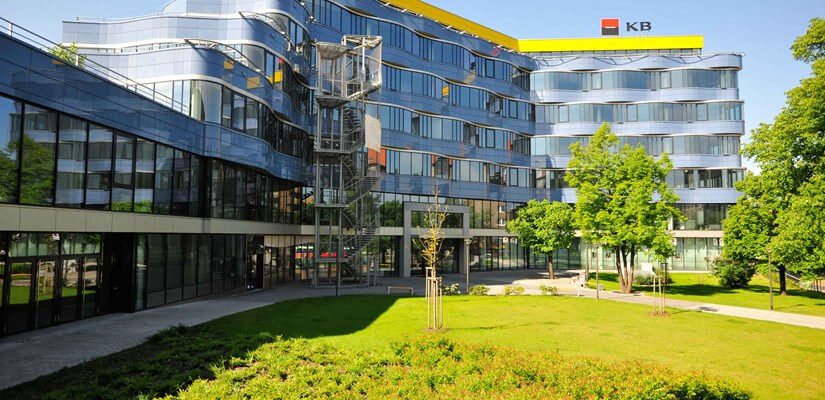
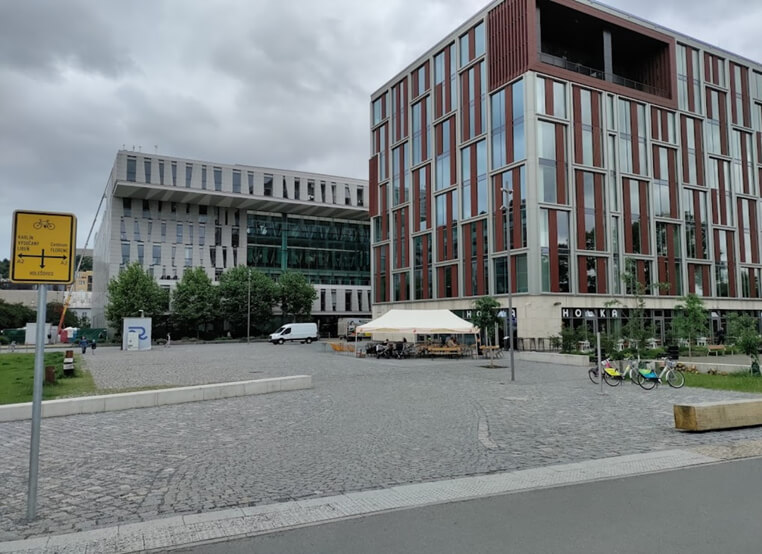
Name | OFFICE COMPLEX BEETHOVEN |
Address | Českomoravská, 190 00 Prague 9 |
Client | SYNER s.r.o., ARCECO s.r.o. |
Date | 11.2018-09.2019 |
Number of workers | 4-12 |
Scope of work | New SHZ installation, pressure testing, piping |
Completed | Installation: 4590 sprinklers Ø150 = 120m. Ø75 = 5400-5600m. Ø40 = 10800-11200m. |

Name | NG MYSLBEK |
Address | Ovocný trh 8, Prague 1, 110 00 |
Client | ARCECO s.r.o. |
Date | 7.2018 |
Number of workers | 3-4 |
Scope of work | Repair and installation of SHZ |
Completed | Installation: 100-110 sprinklers Ø50 = 30m. Ø32 = 110m. Ø25 = 270m. |

Name | BALABENKA OFFICE BUILDING |
Address | Balabenka, Prague 8 – Liben |
Client | Sprinklerové systémy Shark, a.s. |
Date | 03.2016-06.2016 |
Number of workers | 3-4 |
Scope of work | New SHZ installation, piping |
Completed | Installation: 1100 sprinklers Ø80 = 280m. Ø76 = 900m. Ø50 = 170m. Ø32 = 650m. Ø25 = 630m. |
| Name | BUTTERFLY OFFICE BUILDING |
| Address | Praha 8 Karlín, Pernerova 42 |
| Client | Sprinklerové systémy Shark, a.s. |
| Date | 03.2017-06.2017 |
| Number of workers | 6 |
| Scope of work | SHZ installation, new piping |
| Completed | Installation: 1,000 sprinklers Ø76 = 350m. Ø50 = 300m. Ø32 = 280m. Ø25 = 400m. |

Name | RUSTONKA OFFICE BUILDING |
Address | Pobřežní 620/3, 186 00, Prague 8 |
Client | Sprinklerové systémy Shark, a.s. |
Date | 09.2016-12.2016 |
Number of workers | 5 |
Scope of work | SHZ installation, new piping |
Completed | Installation: 1400 sprinklers Ø75 = 400m. Ø32 = 500m. Ø25 = 700m. |

Name | RIVER RINK KARLÍN |
Address | Karolinská 7, 186 00, Prague 8 - Karlín |
Client | SUBTERRA-DIVIZE 4 a.s. |
Date | 07.2020-26.7.2021 |
Number of workers | 10 |
Scope of work | SHZ installation, new piping |
Completed | Installation: 3500 sprinklers Ø25 = 450m. Ø100 = 500m. Ø32 = 670m. Ø125 = 400m. Ø40 = 380m. Ø150 = 300m. Ø50 = 250m. Ø200 = 150m. Ø65 = 300m. Ø250 = 100m. Ø80 = 450m. Ø300 = 100m. |
Name | MIKULANDSKÁ KARLÍN |
Address | Mikulandská 134/5, 110 00 Nové Město |
Client | SUBTERRA-DIVIZE 4 a.s. |
Date | 1.09.2021-28.2.2022 |
Number of workers | 4 |
Scope of work | SHZ installation, new piping |
Completed | Installation: 2500 sprinklers Ø25 = 370m. Ø100 = 180m. Ø32 = 480m. Ø125 = 150m. Ø40 = 250m. Ø150 = 150m. Ø50 = 250m. Ø200 = 130m. Ø65 = 300m. Ø250 = 100m. Ø80 = 450m. Ø300 = 100m. |

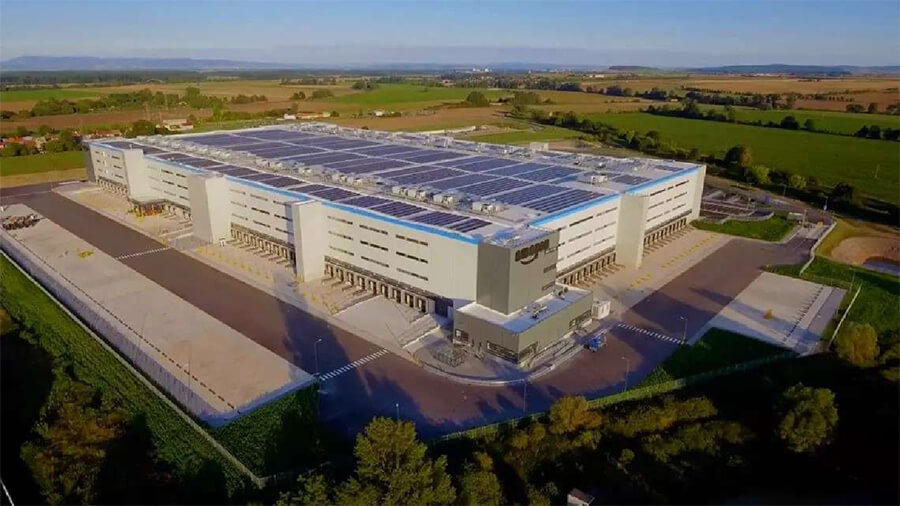
| Name | AMAZON |
| Address | Padlých hrdinů 1511, 752 01 Kojetín |
| Client | TRASER CZ s.r.o. |
| Date | 1.3.2022-28.2.2023 |
| Number of workers | 10 |
| Scope of work | SHZ installation, new piping |
| Completed | Installation: 10,000 sprinklers Ø25 = 150m. Ø100 = 250m. Ø32 = 100m. Ø125 = 300m. Ø40 = 1000m. Ø150 = 300m. Ø50 = 250m. Ø200 = 450m. Ø65 = 200m. Ø250 = 650m. Ø80 = 150m. Ø300 = 350m. |
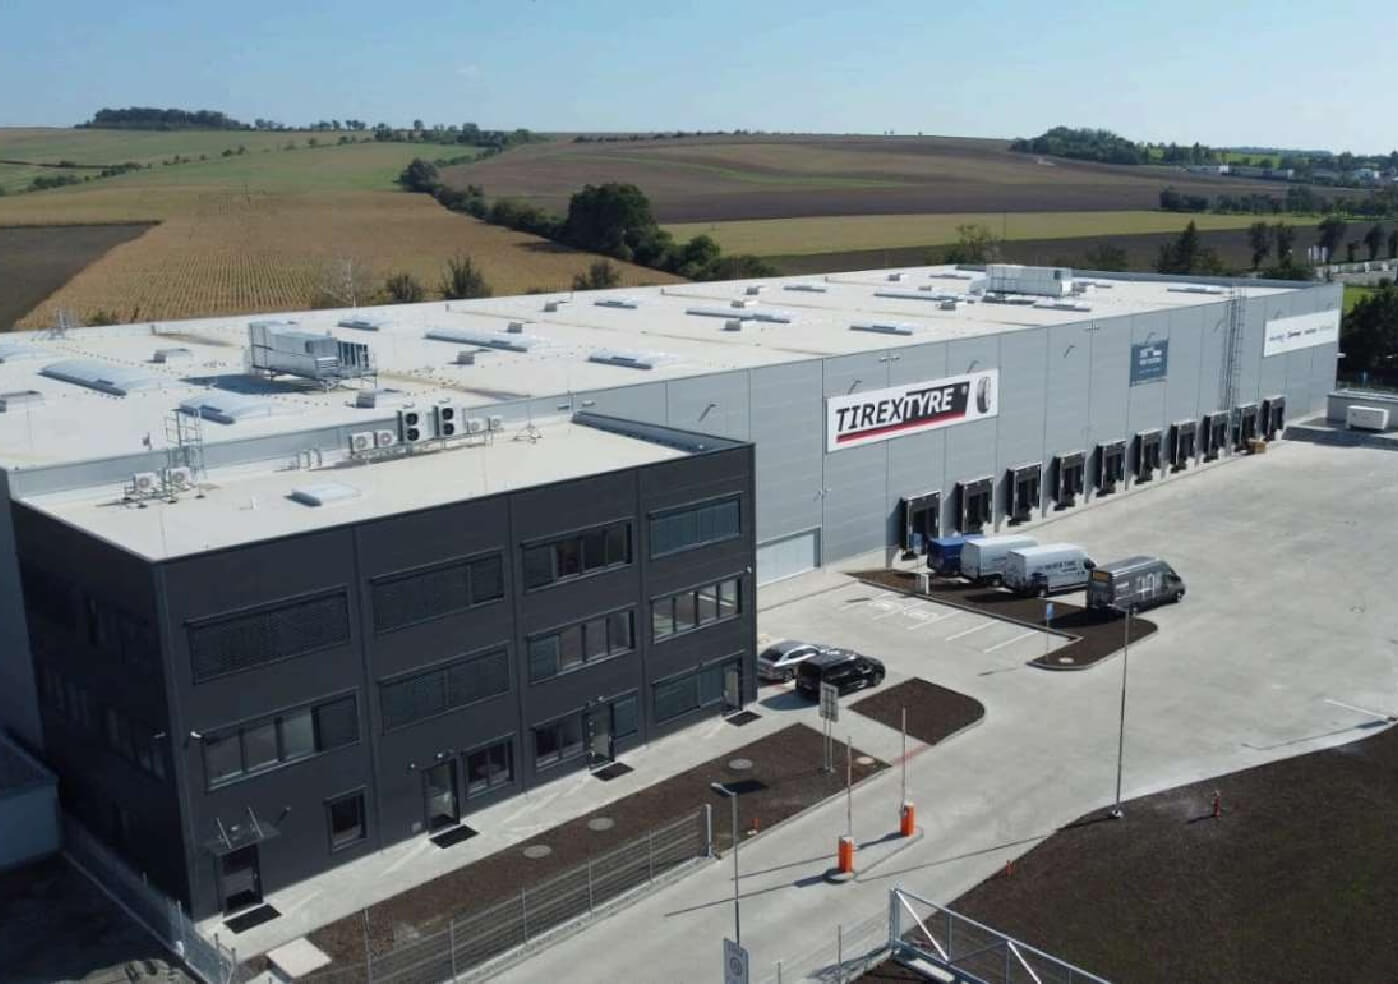
| Name | PŘEROV |
| Address | Nivky 652 750 02, Přerov 2, 2 Přerov |
| Client | TRASER CZ s.r.o. |
| Date | 1.3.2022-28.2.2023 |
| Number of workers | 4 |
| Scope of work | SHZ installation, new piping |
| Completed | Installation: 2,000 sprinklers Ø50 = 850m. Ø65 = 650m. Ø100 = 150m. Ø150 = 100m. Ø200 = 100m. Ø250 = 80m. Ø300 = 40m. |
| Name | HRUŠKY |
| Address | Nivky 652 750 02, Přerov 2, 2 Přerov |
| Client | TRASER CZ s.r.o. |
| Date | 1.3.2022-28.2.2023 |
| Number of workers | 4 |
| Scope of work | SHZ installation, new piping |
| Completed | Installation: 2,000 sprinklers Ø50 = 850m. Ø65 = 650m. Ø100 = 150m. Ø150 = 100m. Ø200 = 100m. Ø250 = 80m. Ø300 = 40m. |
Projects
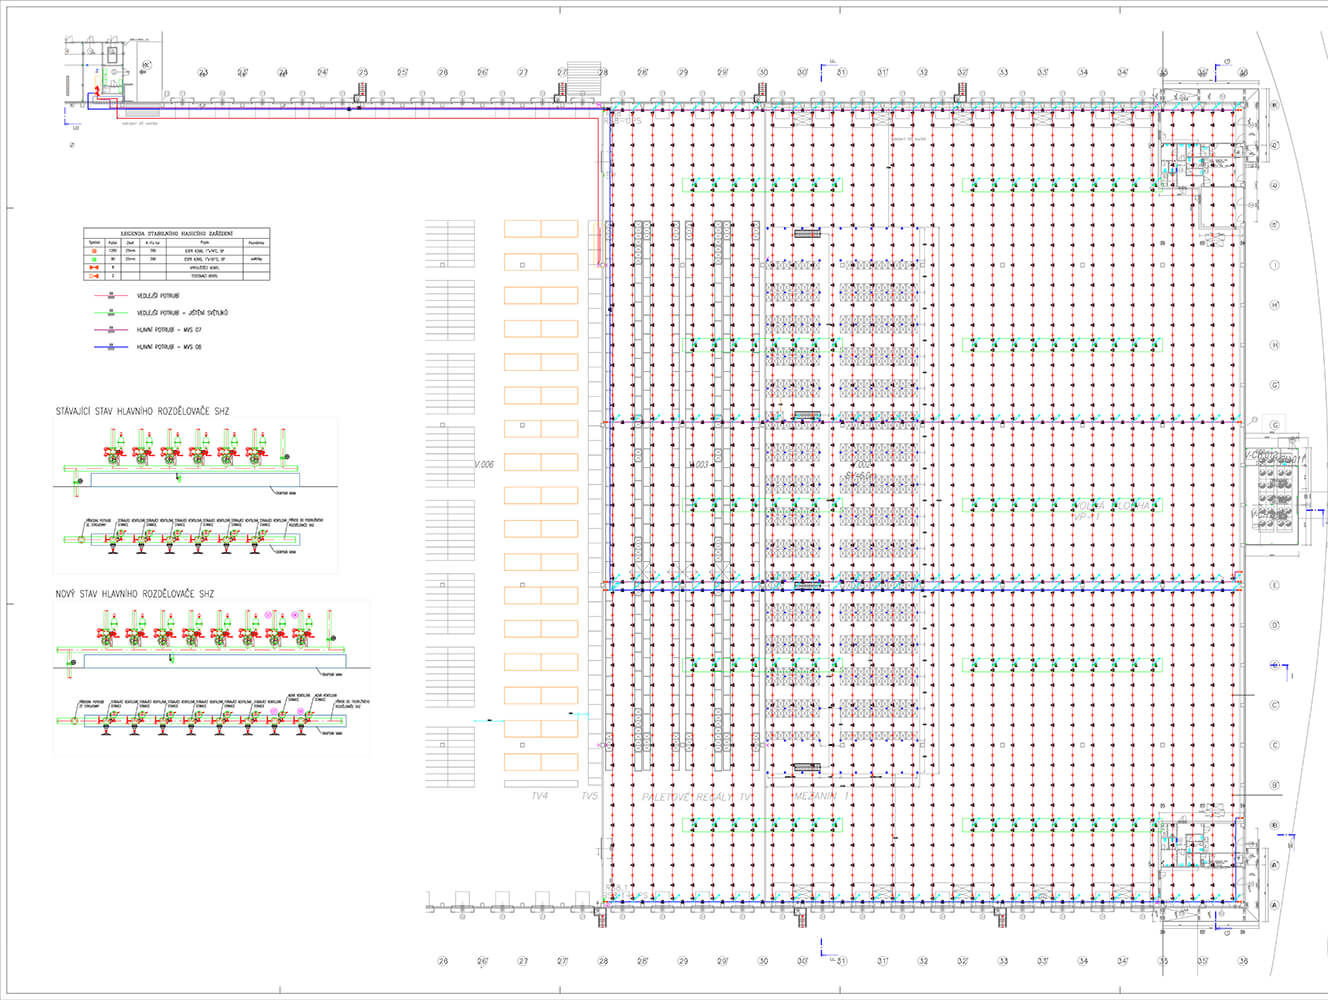
Installation overview: sprinkler systems for fire extinguishing
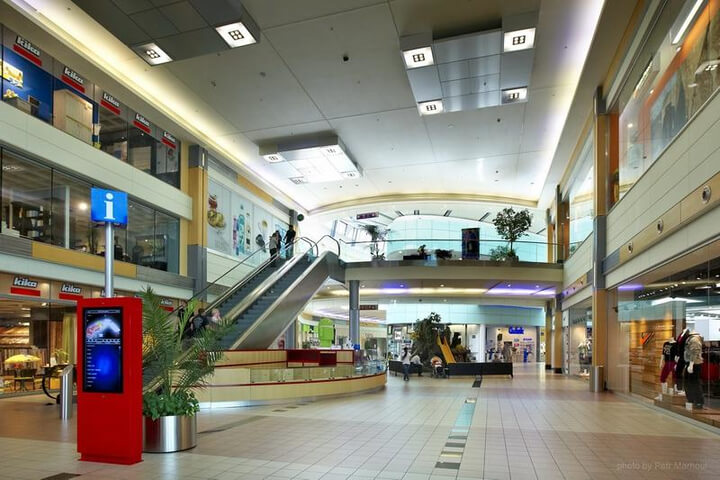
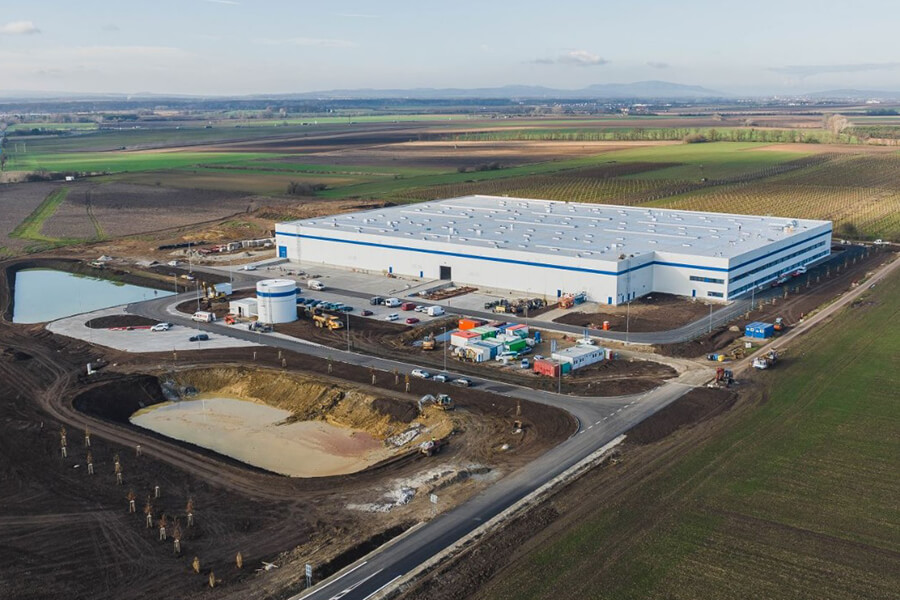
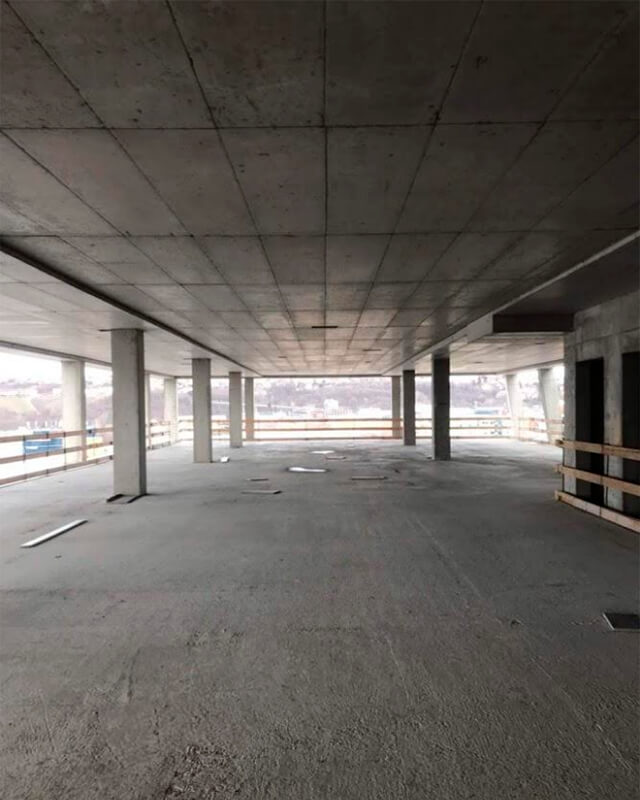
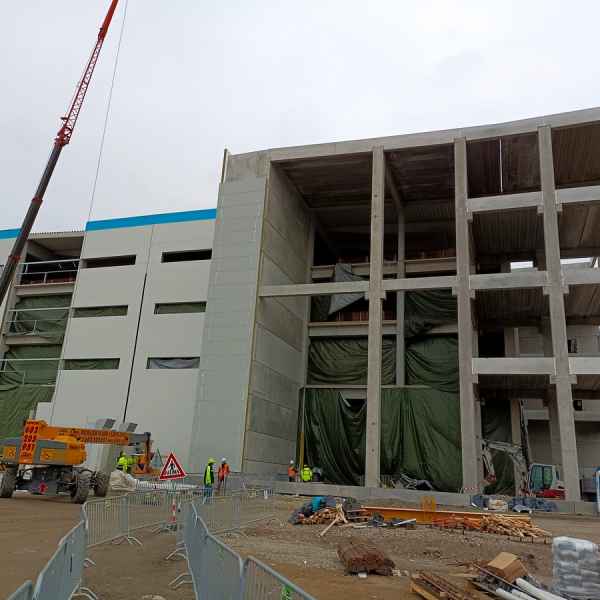
1. Base mounting area
This picture shows the initial phase of the installation of a sprinkler system for fire fighting. The photo shows the ceiling ready for installation of the equipment.
The main stages include:
Surface preparation
Before starting the installation, it is necessary to thoroughly clean and prepare the ceiling. This includes removing any debris and checking for any defects that could affect the installation of the equipment.
Marking
Markings are applied to the ceiling to indicate the exact location of all system elements. This is an important stage as the correct positioning of the sprinklers ensures effective coverage of the entire room area.
Mounting fixings
Installing fixings such as hinges and brackets that will hold the pipes and sprinklers. These elements must be firmly fixed to withstand the weight of the entire system and the water pressure when activated.
Laying the pipes
After the installation of the fixing, the pipes that will supply water to the sprinklers are laid. Pipes shall be installed in accordance with all standards and codes to ensure the smooth and efficient operation of the system.
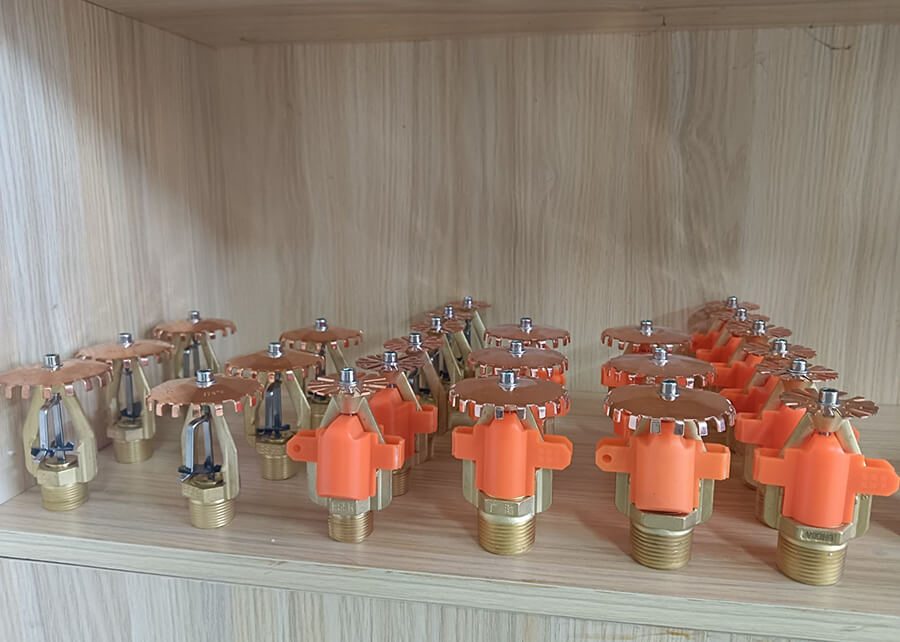
Sprinkler installation
In the final stage, the sprinklers themselves are installed. These are placed in pre-marked locations and connected to the pipe. The sprinklers must be installed in such a way as to give maximum protection to the room against a possible fire.
This process requires a high level of skill and precision, as the safety of the entire building depends on the correct installation of the sprinkler system.
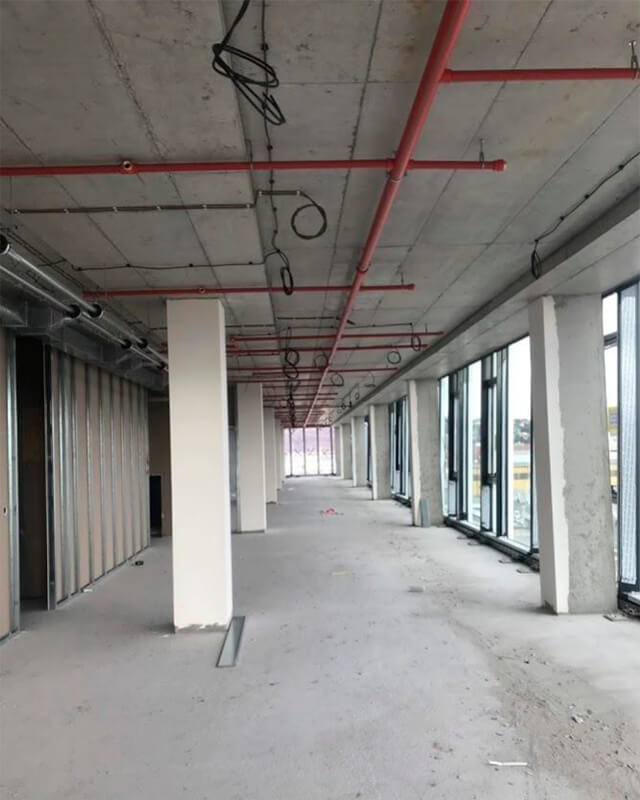
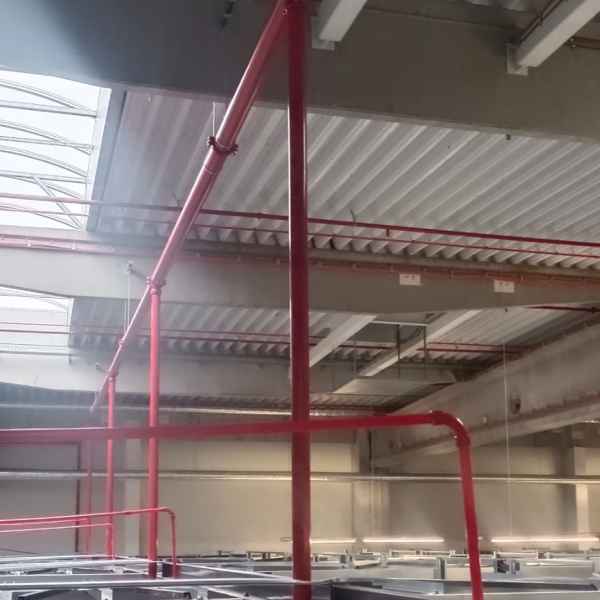
2. Execution of rough piping
This photo shows the red pipes installed on the ceiling that serve as the main piping for the sprinkler system. This phase includes the following key steps:
The main stages include:
Material selection and preparation
Before installation begins, the piping and necessary materials are selected and prepared. The red piping is specifically designed for fire protection systems to be easily recognizable and conform to safety standards.
Pipe cutting and preparation
The pipe is cut to the required length according to the installation plans. It is important that the cuts are precise and clean to ensure a quality connection of the individual parts.
Installation of main wiring
The pipes are mounted on the ceiling according to the pre-prepared markings and fixings. This step involves joining the individual pieces of piping using clamps, screws and other fasteners.
Inspection of joints
After installation, all joints must be thoroughly checked to prevent water leaks. This includes visual inspection and tightening of fasteners if necessary.
Connection to water sources
The main pipes connect to a central water source that will supply the sprinkler system in the event of a fire. This step is crucial to ensure sufficient water pressure and flow.
Rough pipework forms the basic structure of a sprinkler system and is critical to its proper functioning. Proper installation and inspection of this phase ensures that the entire system will be ready to respond effectively in the event of a fire.
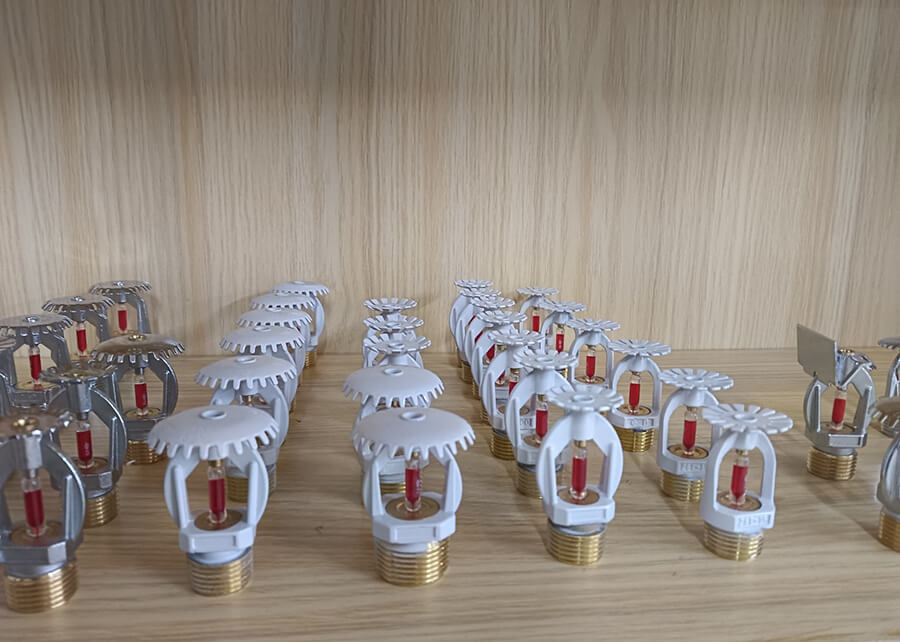
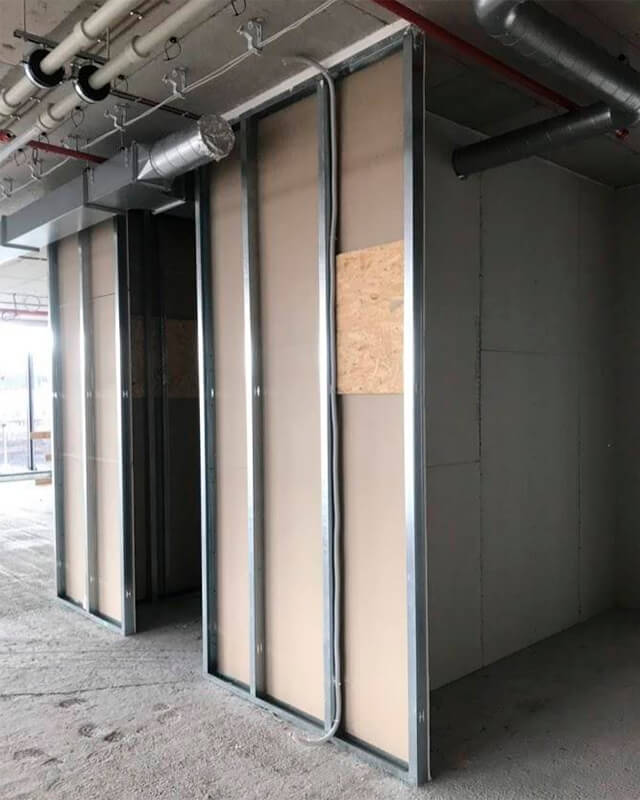
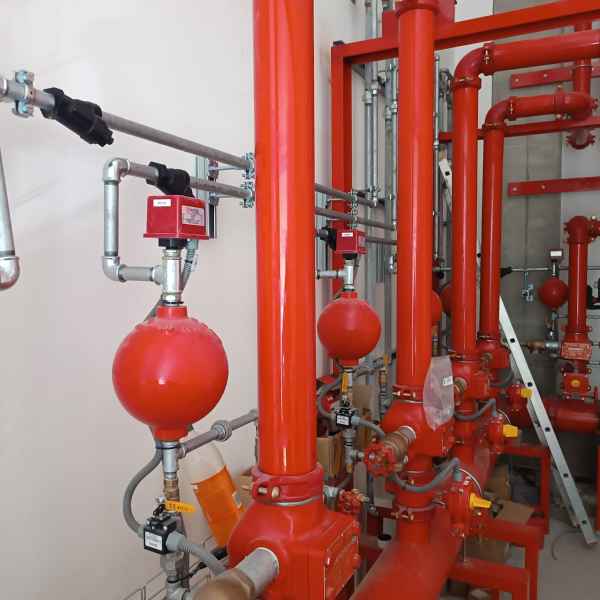
3. Execution of rough wiring between partitions
This photo shows the sprinkler system pipes already wrapped and routed between the partitions. This stage involves the following key steps:
The main stages include:
Planning pipeline routes
Before starting the installation, the pipe routes between the partitions are planned in detail. This step ensures that the piping is routed efficiently and with minimal obstructions.
Pipe cutting and preparation
Pipes are cut to exact lengths according to the installation plans. The piping shall be prepared so that it is easily adaptable for routing between partitions.
Installation and fixing of pipes
The pipes are mounted and fixed between the partitions using special brackets and clamps. This step ensures that the pipes remain stable and securely fastened.
Protection and insulation
The pipelines are wrapped with protective materials to protect them from mechanical damage and to ensure their insulation. This step is important to ensure the long-term durability and safety of the system.
Inspection and testing
After installation, the pipes are inspected and tested to ensure they are leak-free and functioning properly. This includes pressure testing and visual inspection of all joints.
Rough ducting between partitions is a key stage of the sprinkler system installation, ensuring that the ducting is routed safely and efficiently throughout the building. Proper installation and protection of the pipework at this stage is essential for the reliable operation of the system in the event of a fire.
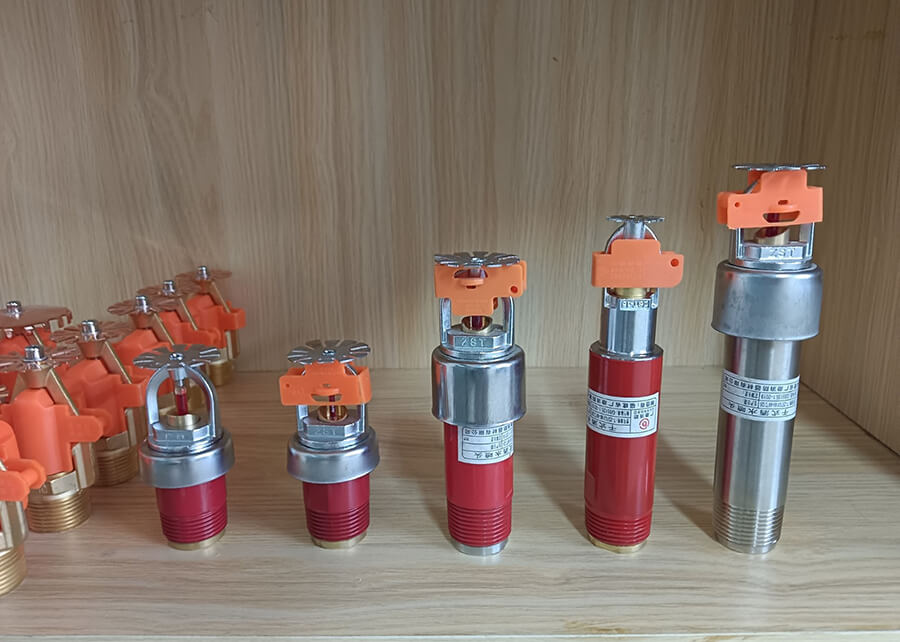
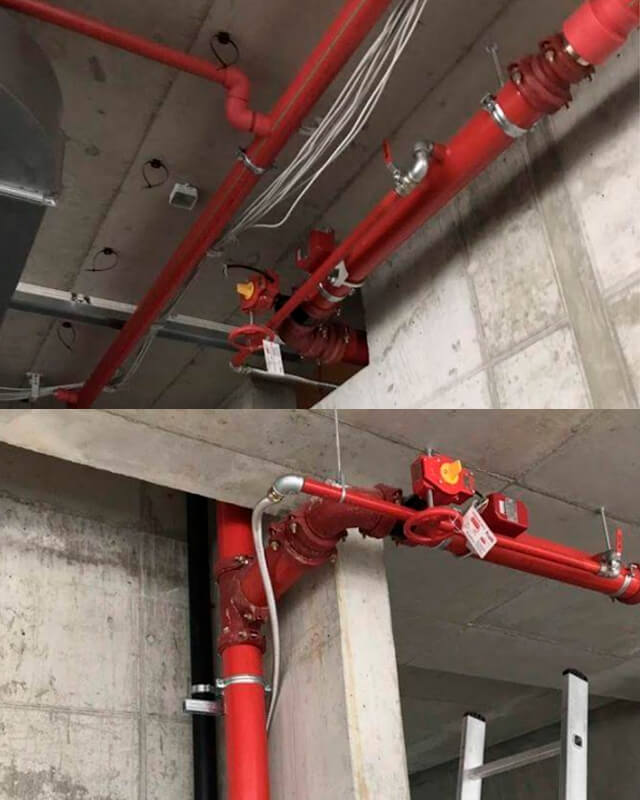
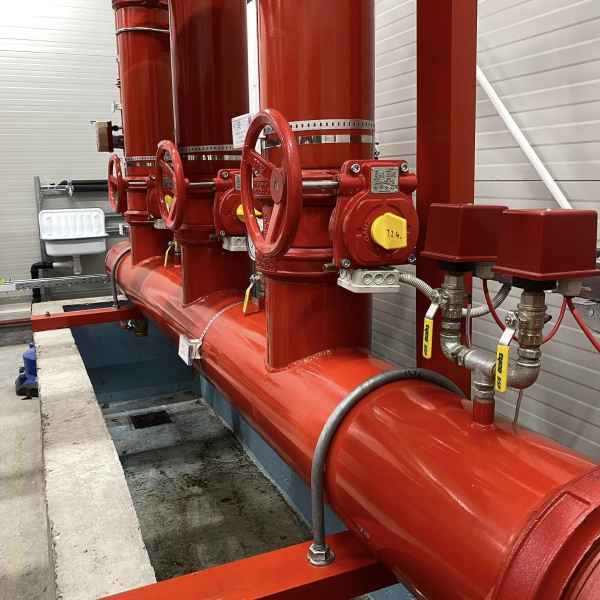
4. Connection to the floor distribution system, installation of the drain valve
This photo shows the red piping with valves and wiring. This last step involves the following key stages:
The main stages include:
Connection to the floor distribution system
The pipes are connected to the main floor piping that distributes water to the different parts of the building. This step involves carefully joining the pipes and ensuring that all joints are tight.
Installation of the drain valve
Drain valves are installed at strategic points in the piping system. These valves allow the system to be inspected and maintained, as well as draining water when necessary.
Wiring connection
The necessary electrical cables are connected to the valve and other system components. This cabling ensures the proper functioning of the automatic systems that detect and initiate fire suppression.
Control and testing
After the installation is complete, a final check and testing of the entire system is performed. This includes ensuring that all connections are tight, valves are working properly and electrical connections are flawless.
Completion and commissioning
After successful testing, the system is commissioned and ready for use. This step includes training of personnel to operate and maintain the system.
Connection to the floor distribution system and installation of the drain valve are the key final stages of sprinkler system installation. These steps ensure that the system is fully operational and ready for immediate action in the event of a fire, contributing significantly to the safety of the entire building.

© 2026 Negrutaspol s.r.o.